
Devil’s Head Coffee – Cold Brew Coffee Review: “The Mason Jar Effect”
 Let’s talk about cold brew! Cold brew coffee has more recently become a very popular way to drink coffee – especially on hot summer days, like what we’ve been having in the Bow Valley this summer! There are many ways to produce cold brew coffee (and yes, it IS different than simply letting your hot brew cool down, possibly with the help of a lot of ice!), and I will review a few of the more popular methods in future posts. But today I am going to break it down for you, and go bare bones minimalist for this first post.
The first thing you need to know about cold brew coffee, is that time is one of the most crucial ingredients in making some tasty cold nectar. So, as you may have gathered, no heat is applied to the brewing process whatsoever. Furthermore, you need time, and lots of it! On average, cold brew should be left to brew, or steep, for a minimum of 12 – 15hrs (more if you like your brew a bit stronger). Ideally, you would store your brewing vessel in a cool place whilst it’s doing its magic, but the countertop is fine too – you’ll just need to add ‘the cold factor’ later. One last thing to keep in mind, is that when you make cold brew, you are making a concentrate (stronger in all ways possible) – so be warned that you may need to dilute to taste, with more water, ice, or dairy product of choice.
So how do I make it, you ask? Well here ya go, one of my favourite methods to produce some tasty cold brew coffee is the bare bones minimalist way, using mason jars – here’s what you need:
Let’s talk about cold brew! Cold brew coffee has more recently become a very popular way to drink coffee – especially on hot summer days, like what we’ve been having in the Bow Valley this summer! There are many ways to produce cold brew coffee (and yes, it IS different than simply letting your hot brew cool down, possibly with the help of a lot of ice!), and I will review a few of the more popular methods in future posts. But today I am going to break it down for you, and go bare bones minimalist for this first post.
The first thing you need to know about cold brew coffee, is that time is one of the most crucial ingredients in making some tasty cold nectar. So, as you may have gathered, no heat is applied to the brewing process whatsoever. Furthermore, you need time, and lots of it! On average, cold brew should be left to brew, or steep, for a minimum of 12 – 15hrs (more if you like your brew a bit stronger). Ideally, you would store your brewing vessel in a cool place whilst it’s doing its magic, but the countertop is fine too – you’ll just need to add ‘the cold factor’ later. One last thing to keep in mind, is that when you make cold brew, you are making a concentrate (stronger in all ways possible) – so be warned that you may need to dilute to taste, with more water, ice, or dairy product of choice.
So how do I make it, you ask? Well here ya go, one of my favourite methods to produce some tasty cold brew coffee is the bare bones minimalist way, using mason jars – here’s what you need:
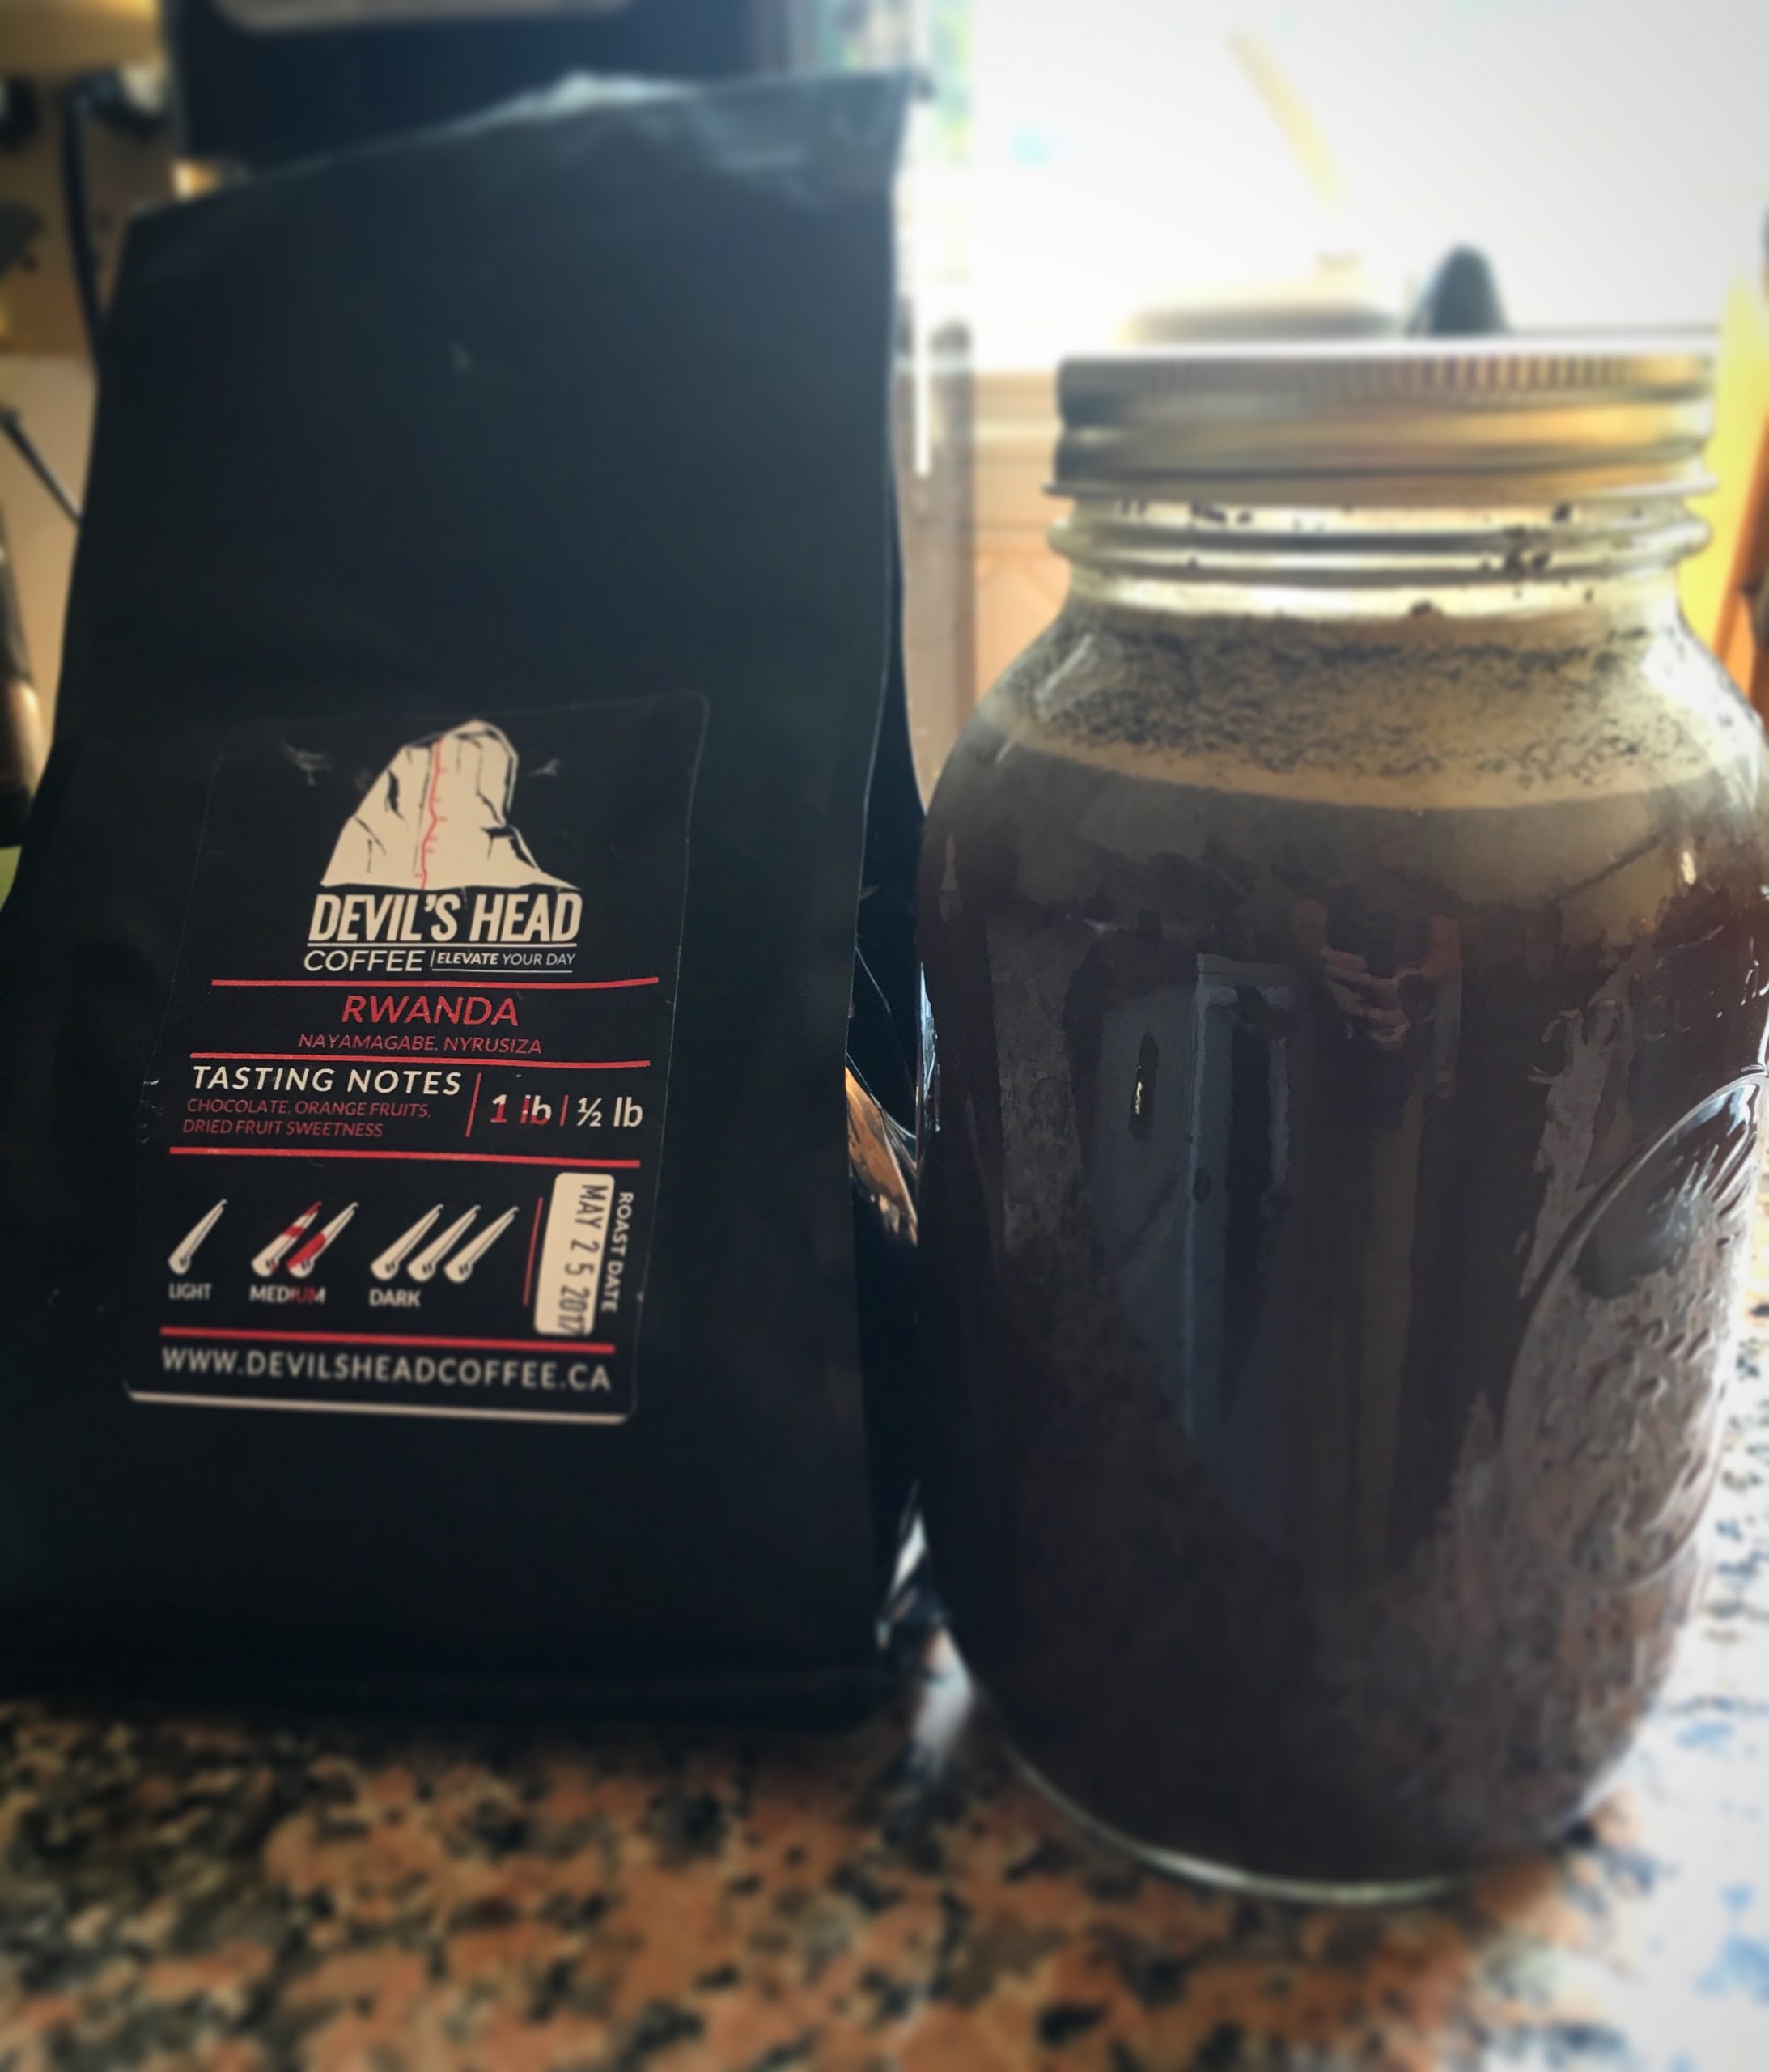
- 2 large mason jars (big enough to fit approximately 3 cups of fluid in each).
- 3 cups of cold, filtered water.
- 1/3 cup (or more if you like stronger brews) of coarsely ground, freshly-roasted coffee beans – I prefer a medium roast bean, but play around with all the bean types you like, and see which one transfers the best to the cold brew method and suits your palate.
- Filters – I like to make use of what I have around me, so I’ll use the filter from my drip coffee maker. You can also use paper filters, like the ones used for the Chemex or other pour-over brew methods.
- Very user friendly
- Inexpensive
- Fun
- You might be mistake for a Hipster due to the use of a mason jar
- Requires more than one vessel
- Requires filters
- You might be mistaken for a Hipster due to the use of a mason jar
[…] your own? You can get away with a lot more for a lot less and it’s wildly easy! Check out DHC’s Mason Jar Cold Brew. We recently came back to the recipe for a camping trip where it was prepped the night before and […]