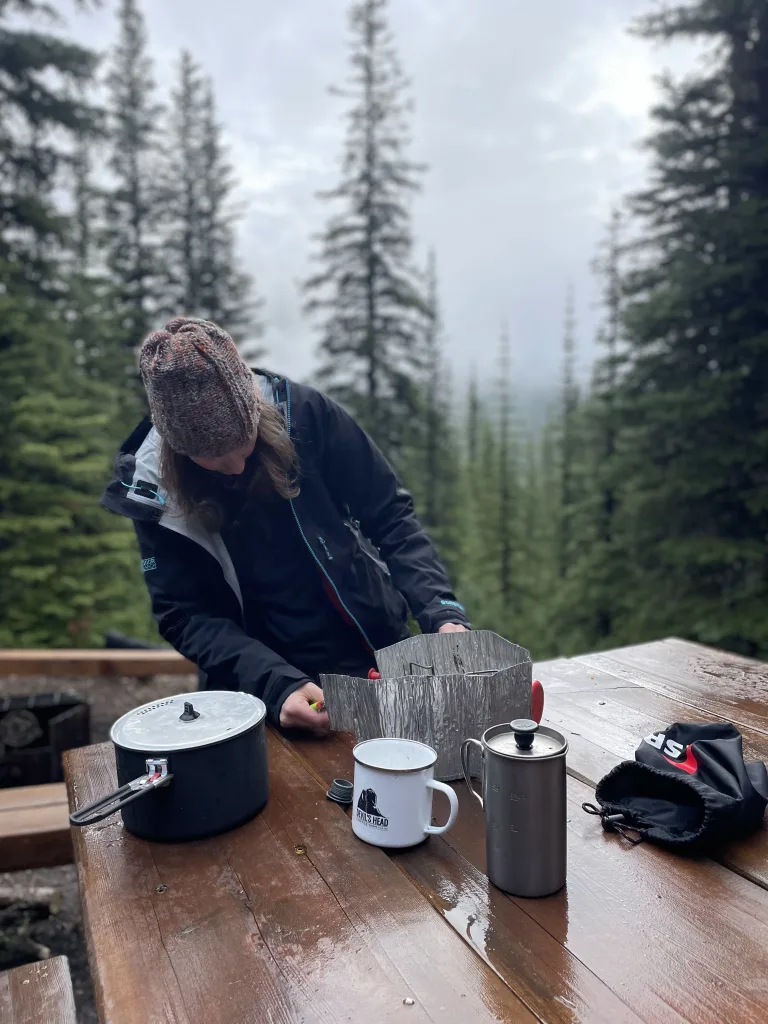
What better way to elevate your day with a morning that starts with a cup of coffee out in the mountains and fresh pine. Everyone is starting to rise with the sun, stirring for a classic breakfast cooked over the fire, a cup of coffee in hand to compliment the crisp morning fog. Dreamy, isn’t it?
Luckily, there are a handful of ways to make coffee out in the woods which opens a wild world of taste and preference that you don’t have to hold out for when you return home. In my case, camping was pretty set rain or shine, however the July blizzard had other plans. While making coffee in an ideal scenario, there’s just something about heading out for the day, finding a pit, and crafting up some of that good brew.
Strong, Reliable, Timeless
For a larger crew, or just a multi dose of that sweet adventure fuel, a percolator makes for a really great ‘batch’ brew. While it takes a bit more involvement, it’s reliable, forgiving, and has been a go to method for car campers, thru-hikers, and outdoor enthusiasts for decades!
Whether it’s pre-ground for the trip or you have your trusty hand-grinder for the freshest cup, you’ll want your coffee ground coarsely, similarly to a french press. Not only will the grinds interact with the water well, but it will dodge your end product looking more like cowboy coffee.
Percolator Anatomy
A percolator is made up of a few parts.
Body: turns water into…coffee
Stem: where the magic happens, A.K.A the ‘perking’
Filter Basket: for coffee grounds
Filter Basket Lid: for extraction and to keep the grounds in the basket
View Bubble: for easy colour judgement and monitoring
To start, you’ll want 1 tablespoon of coffee grounds per 1 cup of water. Add the water to the body of the percolator and set it over the fire to boil. While it can withstand touching flames, if you can off set it where there’s heat and low flame, it will be easier to maneuver around (a pot holder/ towel will come in handy).
Dose your grounds into the filter basket and assemble onto the stem and top with the filter basket lid. Once the water has come to a boil, off set the body and place the filter stem inside, shut the lid, and wait.
A Watched Pot…Boils Faster

In this case, you’ll want to keep an eye on the percolator. You’ll notice that a light brown coloured liquid will start spouting into the little view bubble, the coffee has now begun to percolate. By watching the colour, you can determine when your coffee is ready. I like mine to be more of a light caramelized sugar colour, where you can look for something looking a bit more ‘molasses-ey’ for stronger coffee. This process typically takes around 8-10 minutes after the water boils. Once the coffee is at your preferred strength and colour, remove the filter stem and basket, serve, and most importantly, enjoy!
If you’re looking for more of a visual cue for any part of the process, you can check out this video, a Primitive Technology take on escaping the city for the day to purposefully make coffee that takes longer.
Connect
We’d love to hear from you.
Instagram: @devils_head_coffee
Facebook @Devil’s Head Coffee
Email: [email protected]
